Easy Gluten-Free Bread
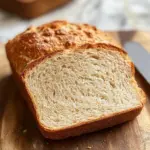
A simple and delicious way to enjoy homemade bread is with this Easy Gluten-Free Bread recipe. Perfect for sandwiches, toast, or just as a side with your meals, this bread will impress everyone at your table. With its soft texture and easy slicing, it’s suitable for various occasions—family dinners, picnics, or even breakfast gatherings. Plus, it’s naturally dairy-free, making it a great choice for many dietary preferences.
Why You’ll Love This Recipe
- Quick to Prepare: This easy gluten-free bread comes together in under an hour, making it perfect for busy days.
- Soft and Flexible: The texture of this bread is reminiscent of traditional white sandwich bread; it bends and squishes without crumbling.
- Versatile Uses: Enjoy it as toast in the morning, use it for sandwiches at lunch, or pair it with your favorite soup or salad.
- Naturally Dairy-Free: No need to worry about dairy products; this recipe is suitable for those avoiding lactose.
- Freezer-Friendly: Make a double batch and freeze one loaf for later; just thaw overnight when you’re ready to use it.
Tools and Preparation
Before you get started on your Easy Gluten-Free Bread, gather the essential tools you’ll need for a smooth baking experience.
Essential Tools and Equipment
- 9-inch x 5-inch or 9-inch x 4-inch small Pullman loaf pan
- Mixing bowl (large)
- Stand mixer or hand mixer
- Measuring cups and spoons
- Cooking spray
- Cooling rack
Importance of Each Tool
- Stand Mixer or Hand Mixer: These tools make mixing the dough easy and ensure everything is well combined without much effort.
- Loaf Pan: Using the right size pan helps achieve the perfect shape and size for your bread, ensuring even baking.
- Cooling Rack: A cooling rack allows air to circulate around the bread as it cools, preventing sogginess on the bottom.
Ingredients
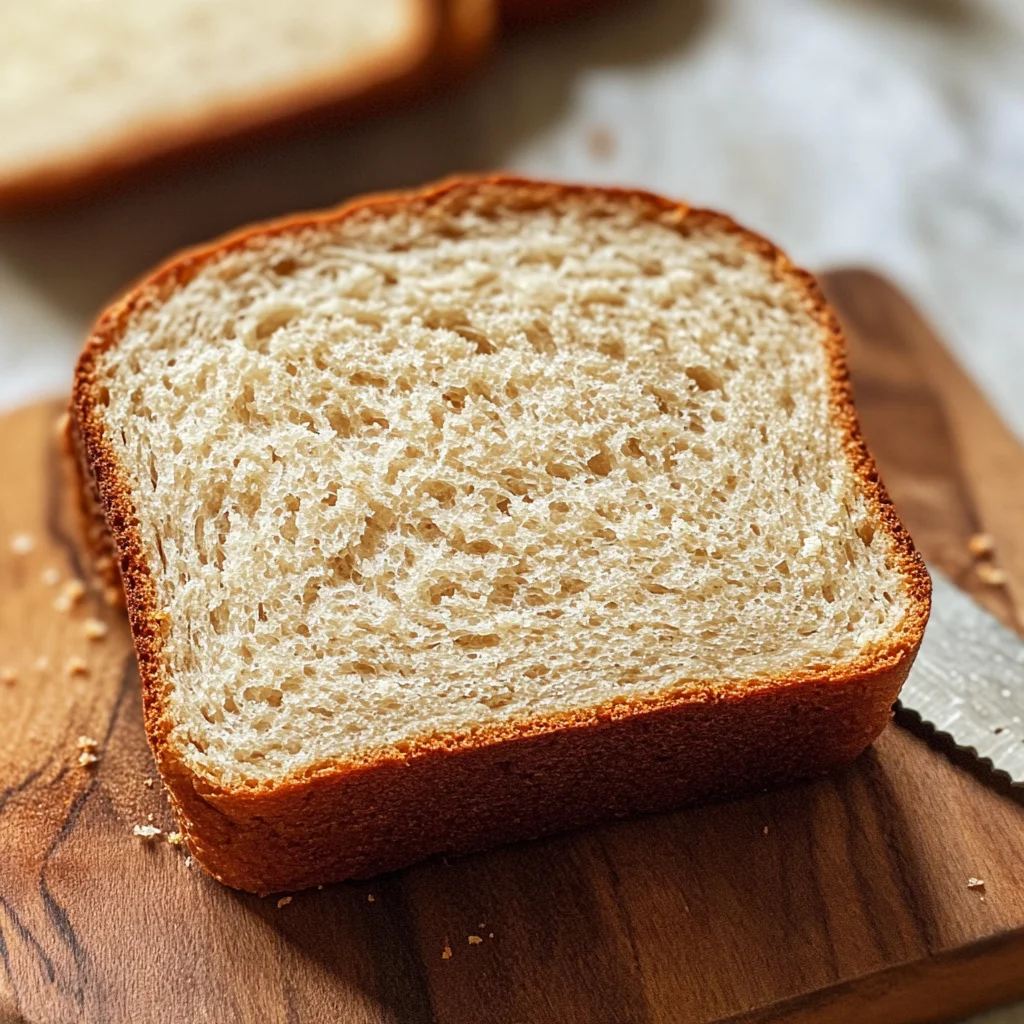
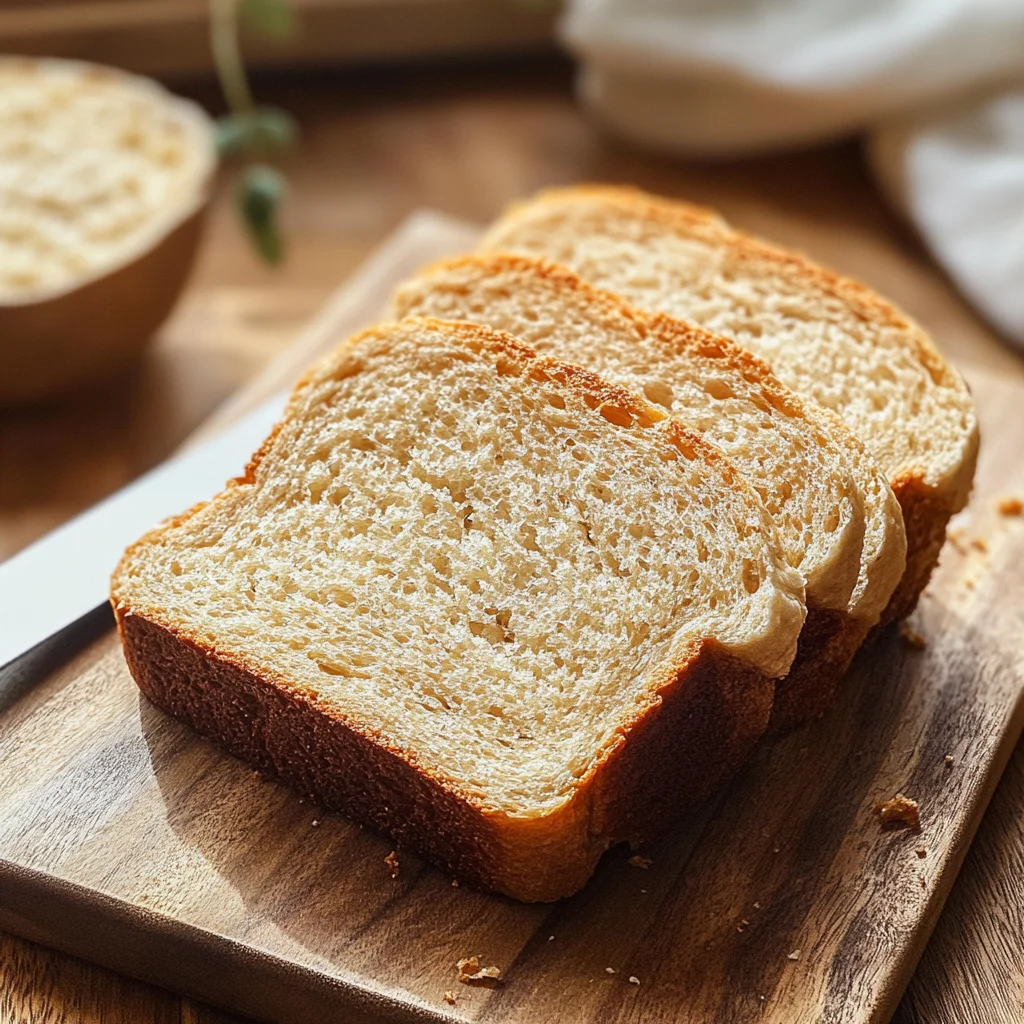
A gluten-free bread recipe that is easily baked in the oven. This soft gluten-free white sandwich bread has an amazing texture, bends, squishes, and is easy to slice. The bread is also naturally dairy-free.
For the Bread
- 2 1/2 cups all-purpose gluten-free flour
- 1 teaspoon xanthan gum (leave out if your flour already has it in it)
- 1 teaspoon gluten-free baking powder
- 1 packet rapid rise/instant yeast (2 1/4 teaspoons)
- 1/4 cup extra virgin olive oil
- 1/4 cup honey (You can use agave nectar or maple syrup.)
- 1 teaspoon apple cider vinegar
- 1 1/2 cups warm water (100-110°F)
- 3 egg whites (from large eggs and room temperature)
- 1 teaspoon salt
How to Make Easy Gluten-Free Bread
Step 1: Preheat the Oven
Preheat your oven to 350°F. Spray a 9-inch x 5-inch bread pan or a 9-inch x 4-inch small Pullman loaf pan with gluten-free cooking spray. Ensure that you move the top oven rack to the middle position.
Step 2: Mix Dry Ingredients
In a large bowl, add the gluten-free flour, baking powder, and instant yeast. Stir well to combine all dry ingredients thoroughly.
Step 3: Combine Wet Ingredients
Add olive oil, honey, apple cider vinegar, and warm water to the flour mixture. If using a stand mixer with a paddle attachment, mix on low speed for about one minute until combined.
Step 4: Add Egg Whites and Salt
Next, add egg whites and salt into the dough mixture. Increase the speed to medium and mix for another minute until you achieve a thick cake batter consistency.
Step 5: Prepare Dough for Rising
Pour the dough into your greased loaf pan. Cover with plastic wrap that has been sprayed with cooking spray. Place a kitchen towel over the pan and allow it to rise in a warm area for about 30 minutes.
Step 6: Bake the Bread
Once risen, place your loaf pan in the preheated oven. Bake for approximately 30 minutes until golden brown. The internal temperature should reach between 205-210ºF.
Step 7: Cool Down
After baking, let your loaf cool in the pan for about ten minutes before transferring it onto a cooling rack. Avoid letting it cool completely in the pan as this may trap steam and lead to sogginess.
Step 8: Slice It Up!
Use a serrated knife to cut slices from your homemade gluten-free bread. A smooth blade can squish it down!
Step 9: Store Leftovers Properly
Store any leftover bread in an airtight container at room temperature once cooled completely. Avoid pre-slicing before storing.
Step 10: Freezing Instructions
For longer storage options, wrap cooled loaves tightly in plastic wrap followed by foil or freezer paper. Place them into freezer bags where they can stay good up to three months. Thaw overnight in the refrigerator when needed.
This Easy Gluten-Free Bread will become a staple in your kitchen—enjoy!
How to Serve Easy Gluten-Free Bread
Easy gluten-free bread is versatile and can be enjoyed in various ways. Whether you’re having it as a main dish or as an accompaniment, there are plenty of delicious options.
Toasted with Toppings
- Avocado Smash: Spread ripe avocado on toasted slices for a creamy and nutritious snack.
- Nut Butter Delight: Top with almond or peanut butter for a protein-packed breakfast or snack.
Sandwiches
- Classic Turkey Sandwich: Layer turkey, lettuce, and tomato between two slices for a hearty lunch.
- Veggie Delight: Fill with your favorite grilled vegetables and hummus for a fresh taste.
Breakfast Ideas
- French Toast Style: Dip slices in an egg mixture and cook on the skillet for a sweet breakfast treat.
- Egg and Cheese Melt: Add a fried egg and cheese for a warm, satisfying morning meal.
How to Perfect Easy Gluten-Free Bread
Perfecting easy gluten-free bread requires attention to detail. Here are some tips to ensure your bread turns out well every time.
- Use Fresh Ingredients: Always check your yeast and baking powder expiration dates for best results.
- Measure Flour Correctly: Use the spoon-and-level method to avoid packing flour into the measuring cup.
- Warm Water Matters: Ensure the water is between 100-110°F to activate the yeast properly.
- Let It Rise Properly: Allow the dough to rise in a warm place; this helps create a light texture.
- Avoid Overbaking: Keep an eye on your bread during the last few minutes of baking to prevent drying out.
- Cool Before Slicing: Let the bread cool completely on a rack to maintain its texture and flavor.
Best Side Dishes for Easy Gluten-Free Bread
Pairing easy gluten-free bread with delightful side dishes enhances your meal experience. Here are some tasty options that complement this bread beautifully.
- Garden Salad: A fresh mix of greens, tomatoes, cucumbers, and your favorite dressing adds crunch and nutrition.
- Roasted Vegetables: Seasonal veggies tossed in olive oil and herbs make a flavorful side.
- Homemade Soup: Pair with tomato basil or vegetable soup for a comforting meal option.
- Chickpea Salad: A protein-rich salad with chickpeas, diced veggies, and lemon dressing offers great flavor contrast.
- Quinoa Pilaf: Cooked quinoa with herbs and nuts makes for a filling side that pairs well with sandwiches.
- Sweet Potato Fries: Crispy fries seasoned with paprika add a delicious touch to any meal.
Common Mistakes to Avoid
Baking gluten-free bread can be tricky if you’re not careful. Here are some common mistakes to avoid for the best results.
- Ignoring the flour blend: Using a single type of gluten-free flour can lead to poor texture. Always use a blend designed for baking to achieve the best results.
- Not measuring ingredients accurately: Baking is precise, and inaccurate measurements can ruin your bread. Use a kitchen scale or measuring cups for the best accuracy.
- Skipping the rise time: Allowing the dough to rise is crucial for a soft texture. Don’t rush this step; let it rise in a warm place until doubled in size.
- Using cold ingredients: Cold ingredients can lead to dense bread. Ensure that egg whites and water are at room temperature before mixing them into the dough.
- Not preheating the oven properly: An improperly heated oven can affect baking time and bread structure. Always preheat your oven as directed before baking.
- Slicing too soon: Cutting into the bread while it’s still warm can make it gummy. Wait until it’s completely cooled on a rack before slicing.
Storage & Reheating Instructions
Refrigerator Storage
-
- Time: Store in the fridge for up to 5 days.
-
- Containers: Use an airtight container to prevent drying out.
Freezing Easy Gluten-Free Bread
-
- Time: Can be frozen for up to 3 months.
-
- Containers: Wrap tightly in plastic wrap, then foil or freezer paper, and place in a freezer bag.
Reheating Easy Gluten-Free Bread
- Oven: Preheat to 350°F and heat wrapped bread for about 10-15 minutes.
- Microwave: Place a slice on a microwave-safe plate and heat for about 10-15 seconds, checking frequently.
- Stovetop: Toast slices in a skillet over medium heat until warmed through.
Frequently Asked Questions
Here are some common questions about making Easy Gluten-Free Bread.
What is Easy Gluten-Free Bread?
Easy Gluten-Free Bread is a soft, sandwich-style bread made without wheat flour, ideal for those seeking gluten-free options.
Can I customize Easy Gluten-Free Bread?
Absolutely! You can add herbs, seeds, or spices to personalize your loaf’s flavor and nutrition profile.
How do I ensure my Easy Gluten-Free Bread rises properly?
Make sure your yeast is fresh and that you allow enough time for the dough to rise in a warm environment.
Is Easy Gluten-Free Bread suitable for freezing?
Yes! Once cooled, it freezes well for up to 3 months when wrapped properly.
Can I use different sweeteners in this recipe?
Yes! You can substitute honey with agave nectar or maple syrup without changing the result significantly.
Final Thoughts
This Easy Gluten-Free Bread recipe offers a simple way to enjoy homemade bread without gluten. Its soft texture makes it perfect for sandwiches or toast, and you can easily customize it with your favorite flavors. Give it a try—you’ll love how versatile and delicious it is!
Easy Gluten-Free Bread
Enjoy the delightful taste of homemade bread with this Easy Gluten-Free Bread recipe! Perfectly soft and easy to slice, this gluten-free loaf is incredibly versatile—ideal for sandwiches, toast, or as a side for any meal. Whip it up in under an hour; this quick recipe is naturally dairy-free and freezer-friendly, making it a fantastic addition to your kitchen repertoire. Whether you’re hosting a family gathering or simply craving a comforting slice of bread, this recipe will impress everyone at your table.
- Prep Time: 15 minutes
- Cook Time: 30 minutes
- Total Time: 45 minutes
- Yield: About 12 servings 1x
- Category: Bread
- Method: Baking
- Cuisine: Gluten-Free
Ingredients
- 2 1/2 cups all-purpose gluten-free flour
- 1 teaspoon xanthan gum (if not included in your flour blend)
- 1 teaspoon gluten-free baking powder
- 1 packet rapid rise yeast (2 1/4 teaspoons)
- 1/4 cup extra virgin olive oil
- 1/4 cup honey (or agave nectar)
- 1 teaspoon apple cider vinegar
- 1 1/2 cups warm water (100-110°F)
- 3 egg whites (room temperature)
- 1 teaspoon salt
Instructions
- Preheat your oven to 350°F and grease a loaf pan.
- In a large bowl, combine gluten-free flour, baking powder, and yeast.
- Add olive oil, honey, vinegar, and warm water; mix until combined.
- Incorporate egg whites and salt; mix until thick batter forms.
- Pour the dough into the prepared loaf pan and cover. Let rise in a warm spot for about 30 minutes.
- Bake for approximately 30 minutes or until golden brown and internal temperature reaches 205-210°F.
- Cool in the pan for ten minutes before transferring to a cooling rack.
Nutrition
- Serving Size: 1 slice (45g)
- Calories: 130
- Sugar: 3g
- Sodium: 210mg
- Fat: 5g
- Saturated Fat: 0.5g
- Unsaturated Fat: 4g
- Trans Fat: 0g
- Carbohydrates: 20g
- Fiber: 2g
- Protein: 3g
- Cholesterol: 0mg

